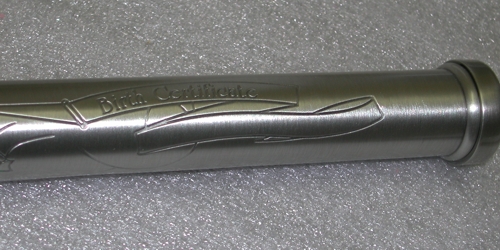
My morning started off with what could be a person's least popular item to engrave, but I whip them out in less than 5 minutes. It is the dreaded birth certificate holder with the curvy banner.
A few months after engraving my first one, I decided to inventory this item. Next to picture frames, it is still one of my more popular baby gifts. The following is the way I have simplified the process to make it more efficient.
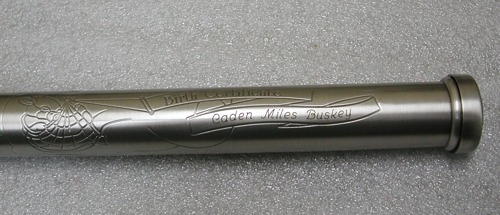
First off, here is a picture of the engraving area I am writing about.
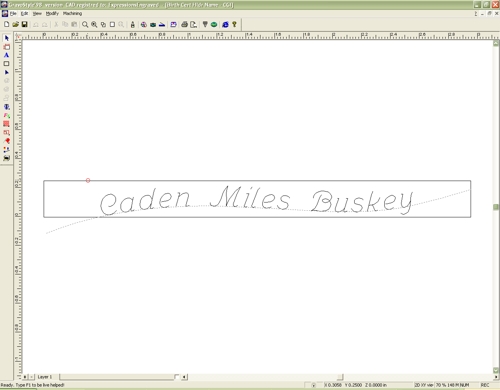
After engraving one of these certificate holders, I knew I would likely be seeing more in the future. I went ahead and saved the curved text line I had created to match that of the curved banner. This is an example where you invest a little set-up time up front and reap perpetual benefits of that work in the future.
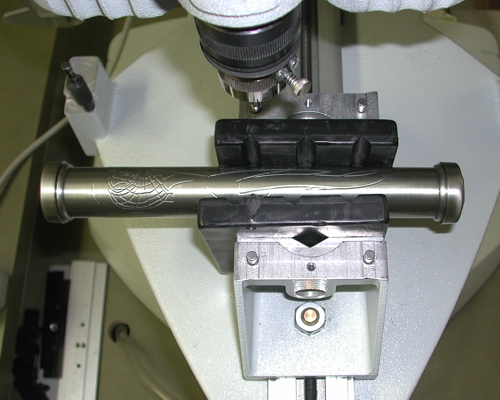
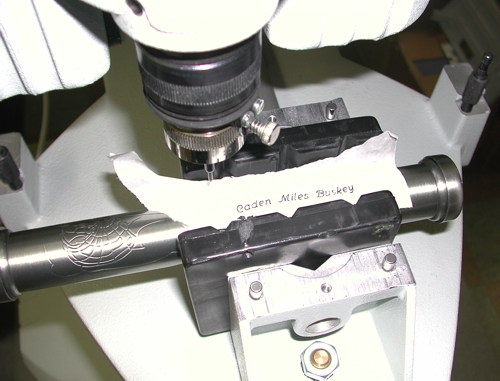
After I pull up the layout, I enter the name to be engraved. I then place the certificate holder in the vice on my IS400 Volume Mechanical Engraver. I use a pair of notched rubber pads to hold the item firmly and to avoid scratching it. I also extend the diamond cutter out a little further than normal so that it has enough clearance from the vice pads when engraving.
I then get the X and Y coordinates of the banner's center and enter them into my engraving software. Following that, I place a strip of thin transfer tape over the engraving area, thread my pen tool into the spindle, and send the job.
After confirming that the letters are centered in the banner properly, I'm ready to place the diamond cutter in the spindle and engrave. Because of the limited size of the banner, I often have to tweek the curved line to accommodate the lower-case letters that hang below the base line.
This product oxidizes very nicely. Some people like the shiny engraving, while others like the black lettering.
It is a fairly hard rubber. I can use full tension on my IS400 without much play. The ability of the item you are engraving to withstand a moderately strong vice clamp helps.